Start vegetable seeds on a schedule the plants can keep
Work backward from local planting conditions and give seedlings enough light.
Work backward from planting conditions
Starting early can produce oversized seedlings that have nowhere suitable to go. Identify your local planting window for each crop, taking weather and soil conditions into account rather than relying on a national calendar. Then use the seed packet and local extension guidance to calculate an indoor sowing date. University of Maryland Extension's seed-starting resource, updated in September 2026, describes containers, growing media, and practical sowing steps. Make a small table with crop, indoor sowing date, expected transplant window, and required space. Begin with fewer varieties than your ambition suggests so you can maintain them well.
Prepare light and drainage first
Set up adequate growing light before sowing, using equipment according to its safe operating instructions. A warm windowsill may support germination yet leave emerging seedlings stretching toward weak light. Choose clean containers with drainage holes and a suitable seed-starting medium. Reused food containers can work when they are cleaned, stable, and modified safely for drainage. Keep a tray beneath them to catch runoff, but avoid leaving cells submerged. Label every container with crop, variety, and sowing date. Identical young leaves become surprisingly difficult to distinguish once several trays occupy the same shelf.
Sow according to the seed
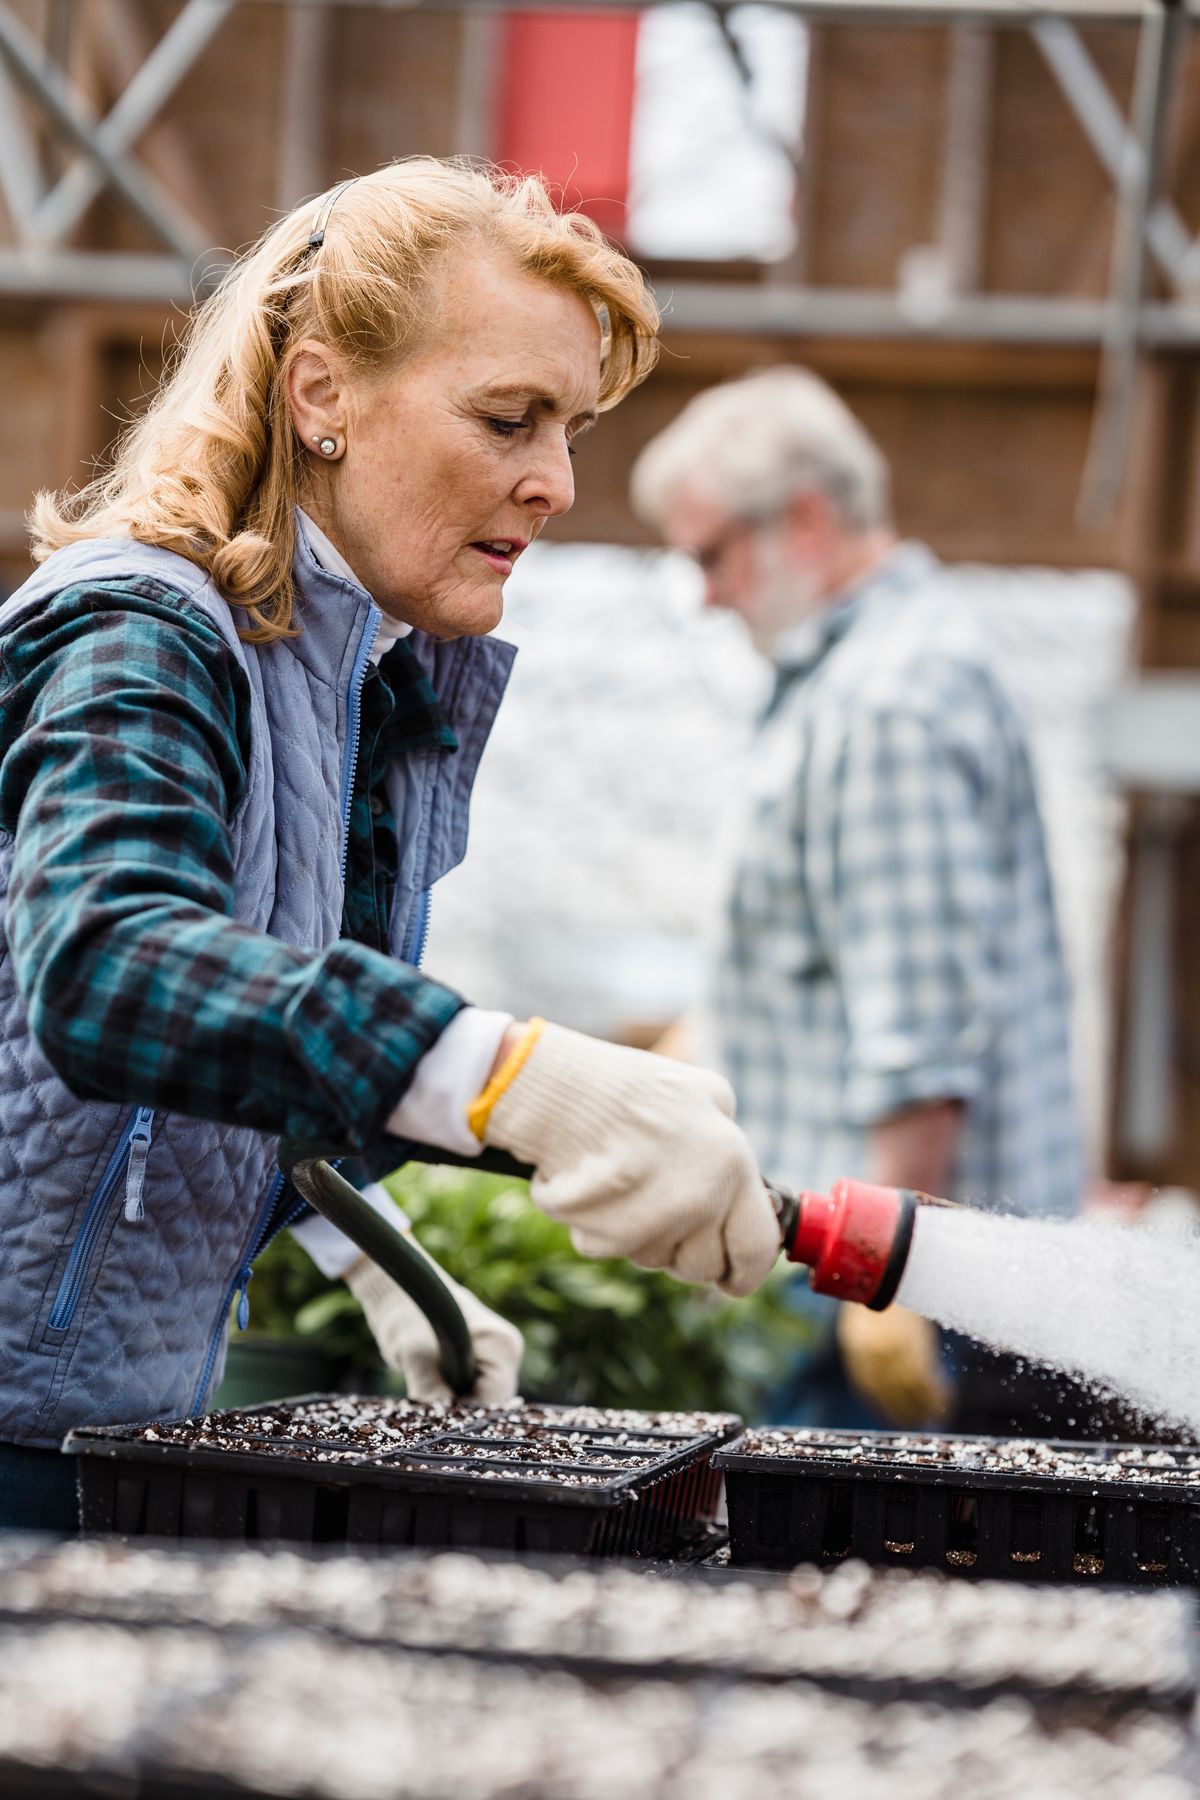
Follow packet instructions for depth, temperature, and any special preparation. Different species need different conditions, and tiny seeds may require only a light covering. Moisten the medium evenly without saturating it. If a cover is used to retain moisture during germination, monitor it and remove or adjust it at the appropriate stage. Keep a record of emergence dates. Avoid watering only because the surface color changed; inspect the actual moisture and container weight. A heating mat, where appropriate, can speed drying, so moisture observations should accompany any temperature-control equipment.
Give emerging seedlings room
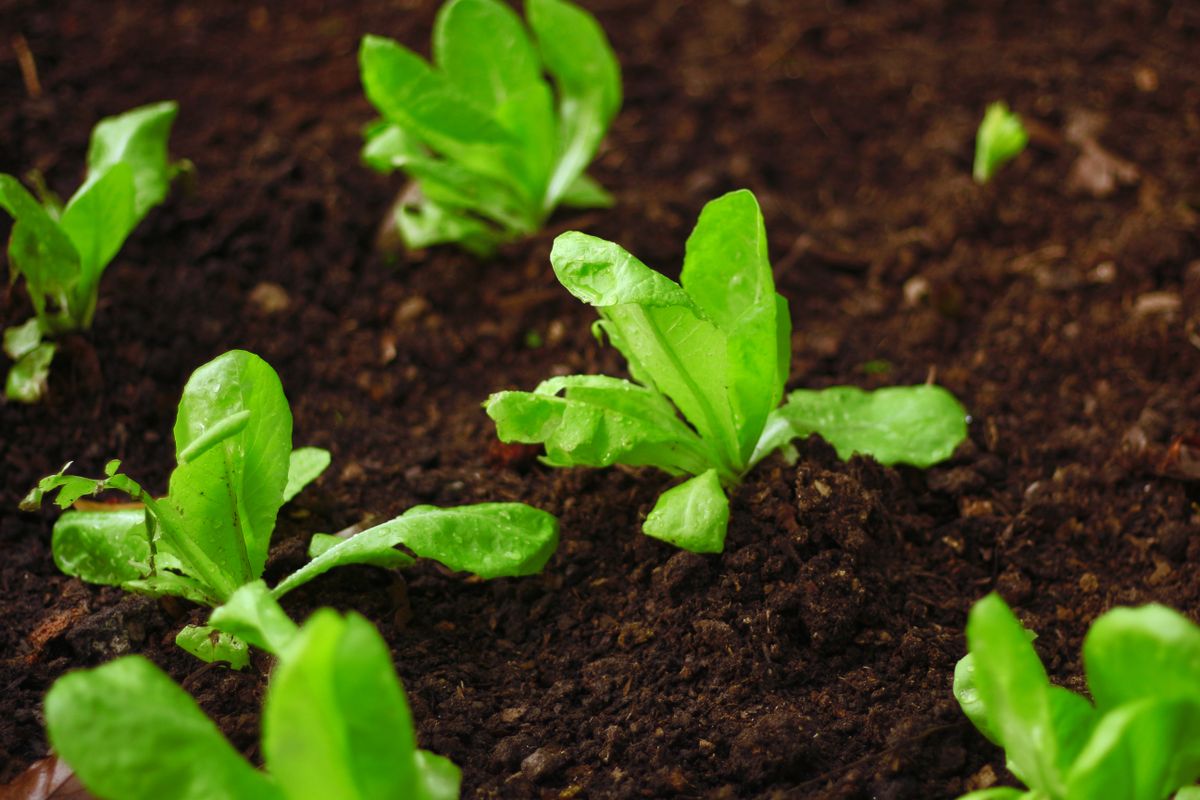
After germination, maintain suitable light and thin or transplant seedlings according to the crop's needs. Crowding can create weak growth and make watering harder to judge. Handle delicate plants carefully, keeping their identity labels with them. Use feeding guidance appropriate to the medium and stage rather than assuming seedlings need strong fertilizer immediately. Watch for collapse, persistent wetness, or poor growth and seek reliable advice if problems develop. Do not treat every weak seedling with more water. Review light, drainage, temperature, and spacing before adding another product or moving the whole tray somewhere less suitable.
Introduce outdoor conditions gradually
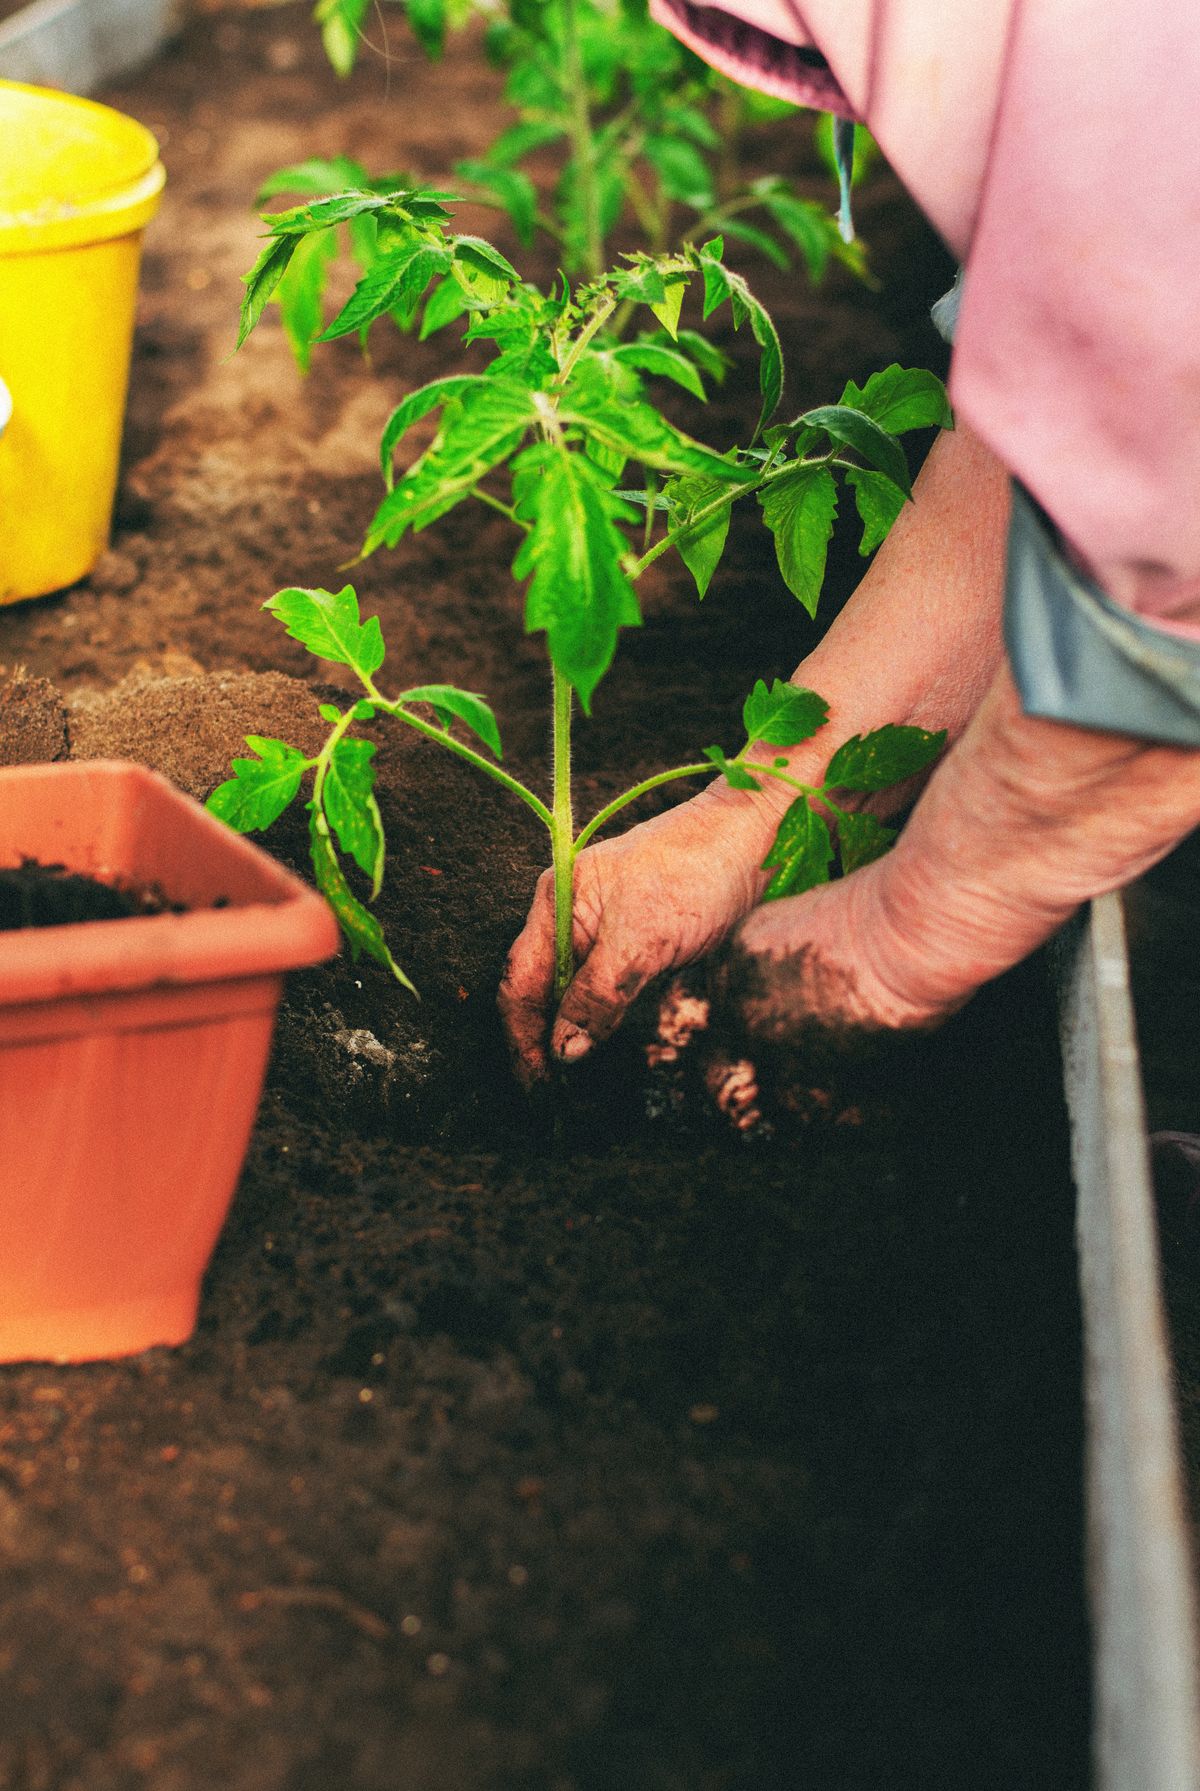
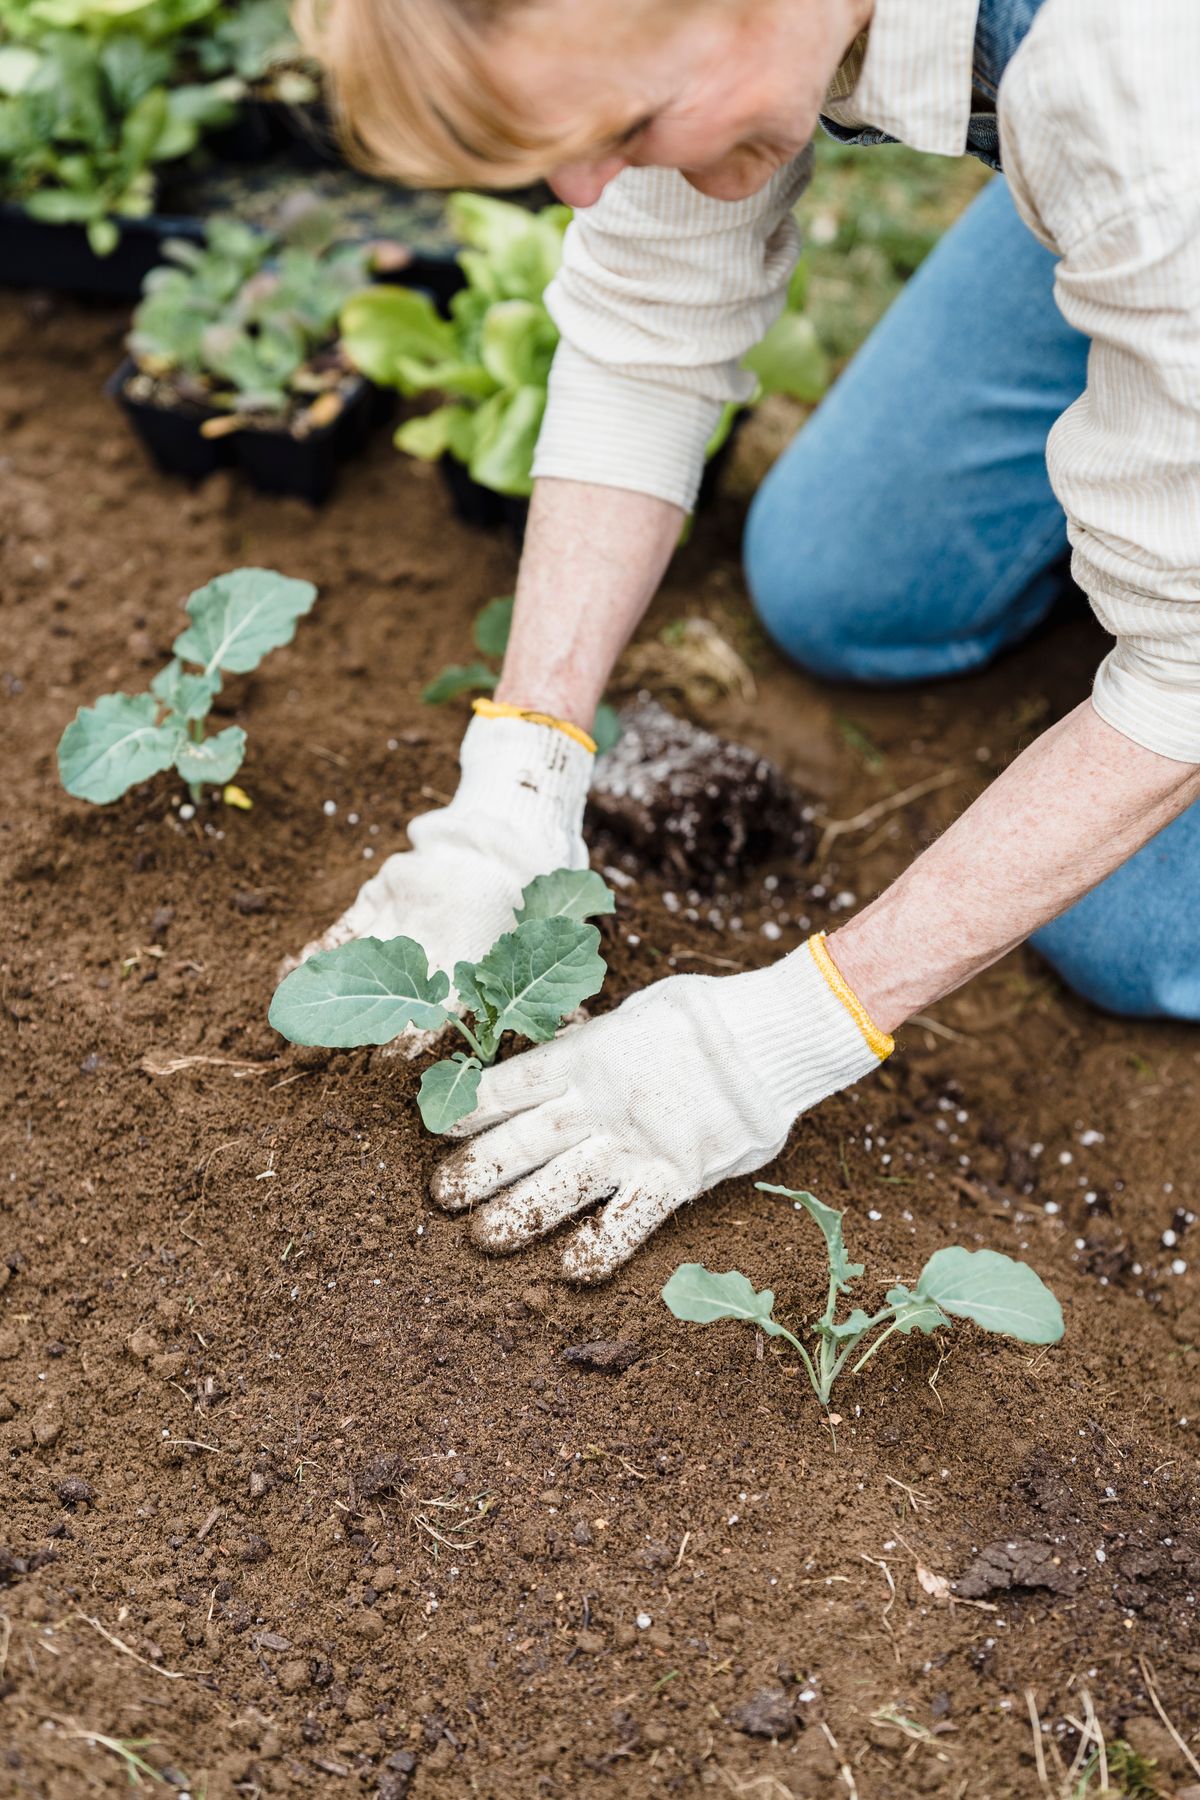
Before transplanting, acclimate seedlings to outdoor light, wind, and temperature in a protected setting. Follow crop-specific hardening guidance and bring plants back into protection when conditions are unsuitable. Check the forecast and soil conditions at the intended planting site. Keep some flexibility in the schedule rather than forcing a transplant date during a cold or severe weather spell. Record which varieties and dates produced manageable plants. The successful seed-starting system ends with sturdy seedlings ready for an appropriate outdoor window, not with the largest possible plants still crowded into a room while the garden remains too cold.
Sources & further reading
Source links support the factual context. Practical examples and suggested workflows are original editorial guidance. Sources checked October 5, 2026.
Spotted something we should correct? Send a correction. Read our editorial policy.