Take softwood cuttings with a small controlled setup
Use healthy active growth and keep labels, moisture and light consistent.

Choose material at the right stage
Softwood cuttings use suitable young growth from plants for which the method is appropriate. RHS guidance describes the materials and basic steps for taking these cuttings while plants are actively growing. Check species-specific timing and preparation before cutting. Do not treat every outdoor shrub, herb, and indoor plant as interchangeable. Select a healthy parent and avoid pest-infested or visibly diseased growth. Start with a few cuttings and leave the parent in good condition. If the plant is protected or you plan commercial distribution, check relevant restrictions rather than assuming that any garden plant can be freely multiplied for sale.
Set up before collecting
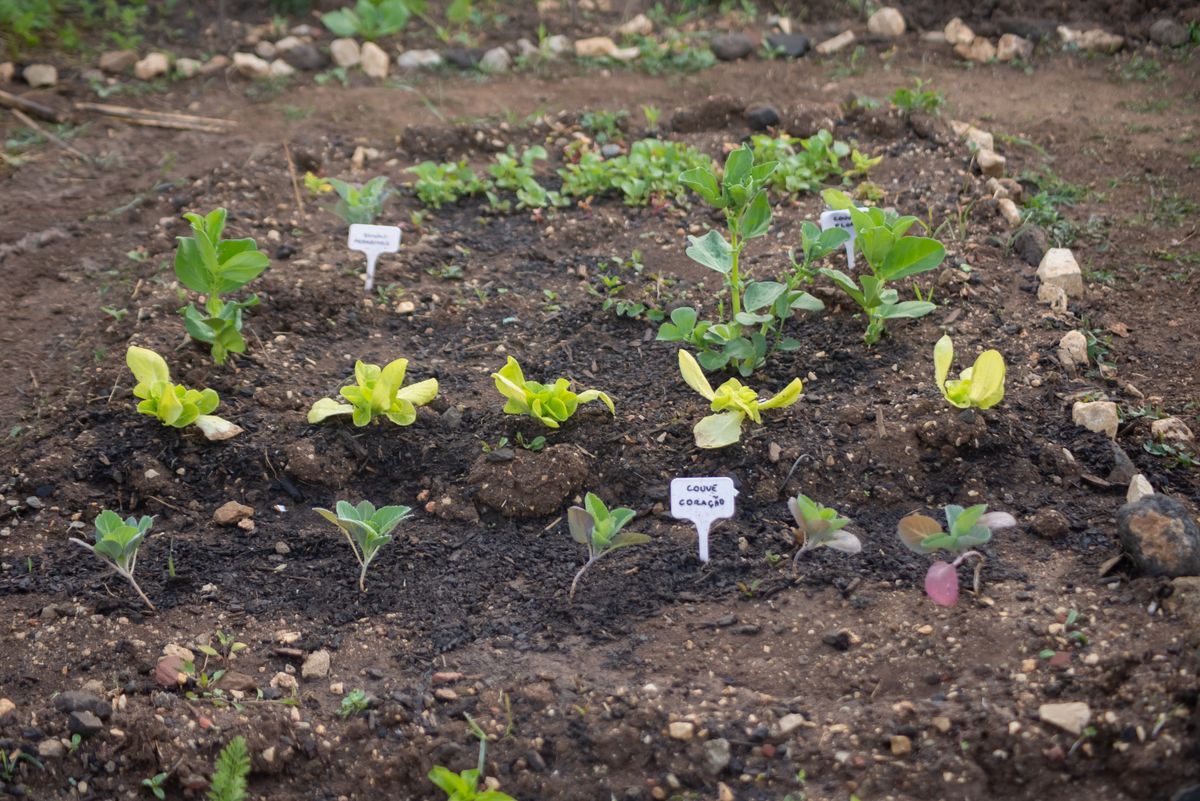
Prepare clean tools, suitable containers with drainage, an appropriate propagation medium, labels, and a protected growing position. Read the method completely so you know whether covering, a rooting product, or a particular temperature is recommended. Use any product strictly according to its label. Keep collected material from drying out while you work, following species guidance. Label the parent, date, and treatment for each group. A small controlled setup helps you compare results. An improvised pile of unidentified cut stems makes it difficult to learn from success or to identify the source of a later pest problem.
Prepare cuttings carefully
Follow reliable instructions for cutting length, node placement, and removal of lower leaves. Use a clean cut and avoid crushing tissue. Reduce foliage only as recommended so the cutting retains what it needs without creating excessive water loss. Insert into the prepared medium at the appropriate depth and firm gently. Keep leaves from being buried where that would encourage deterioration. Do not crowd the container beyond what the method allows. The aim is consistent contact between suitable material and an appropriate environment, rather than achieving the largest possible number of cuttings from every piece of parent growth.
Control moisture without stagnation
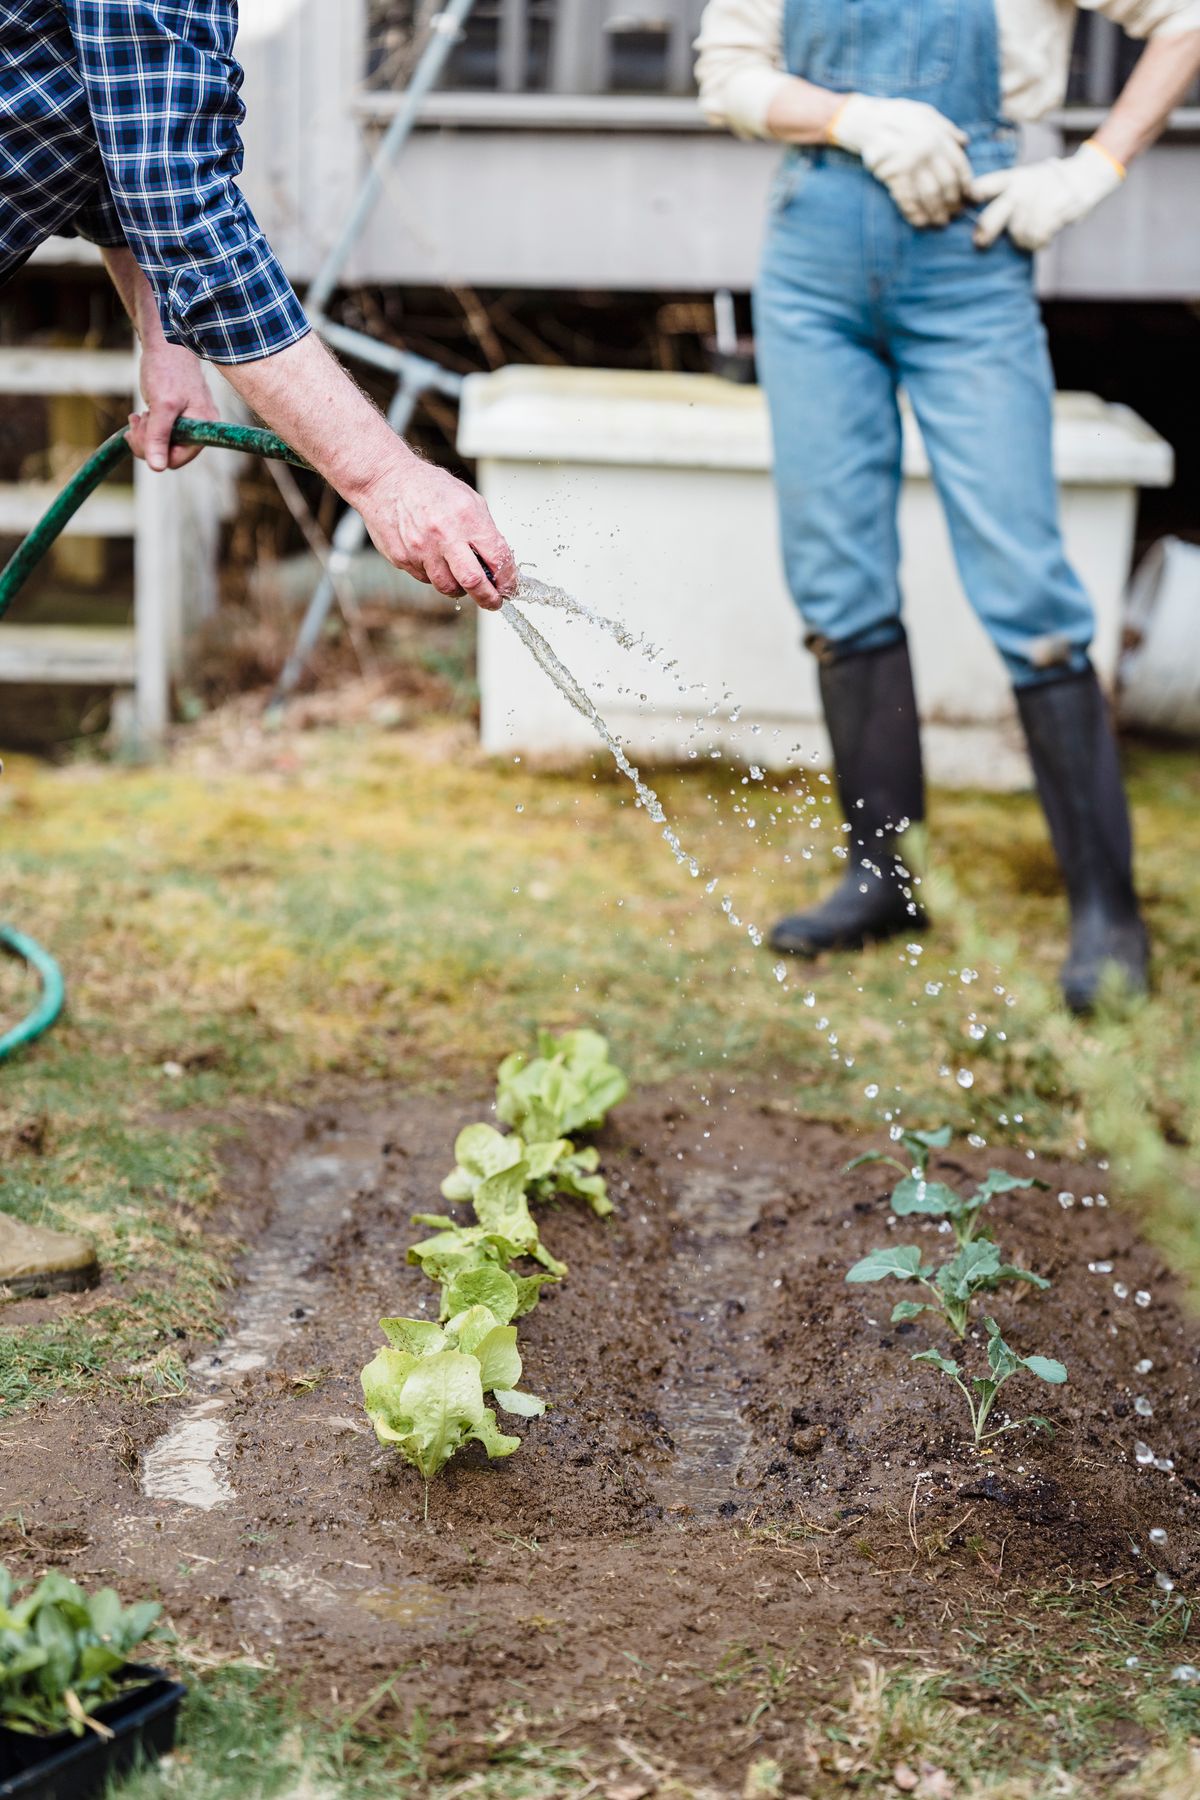
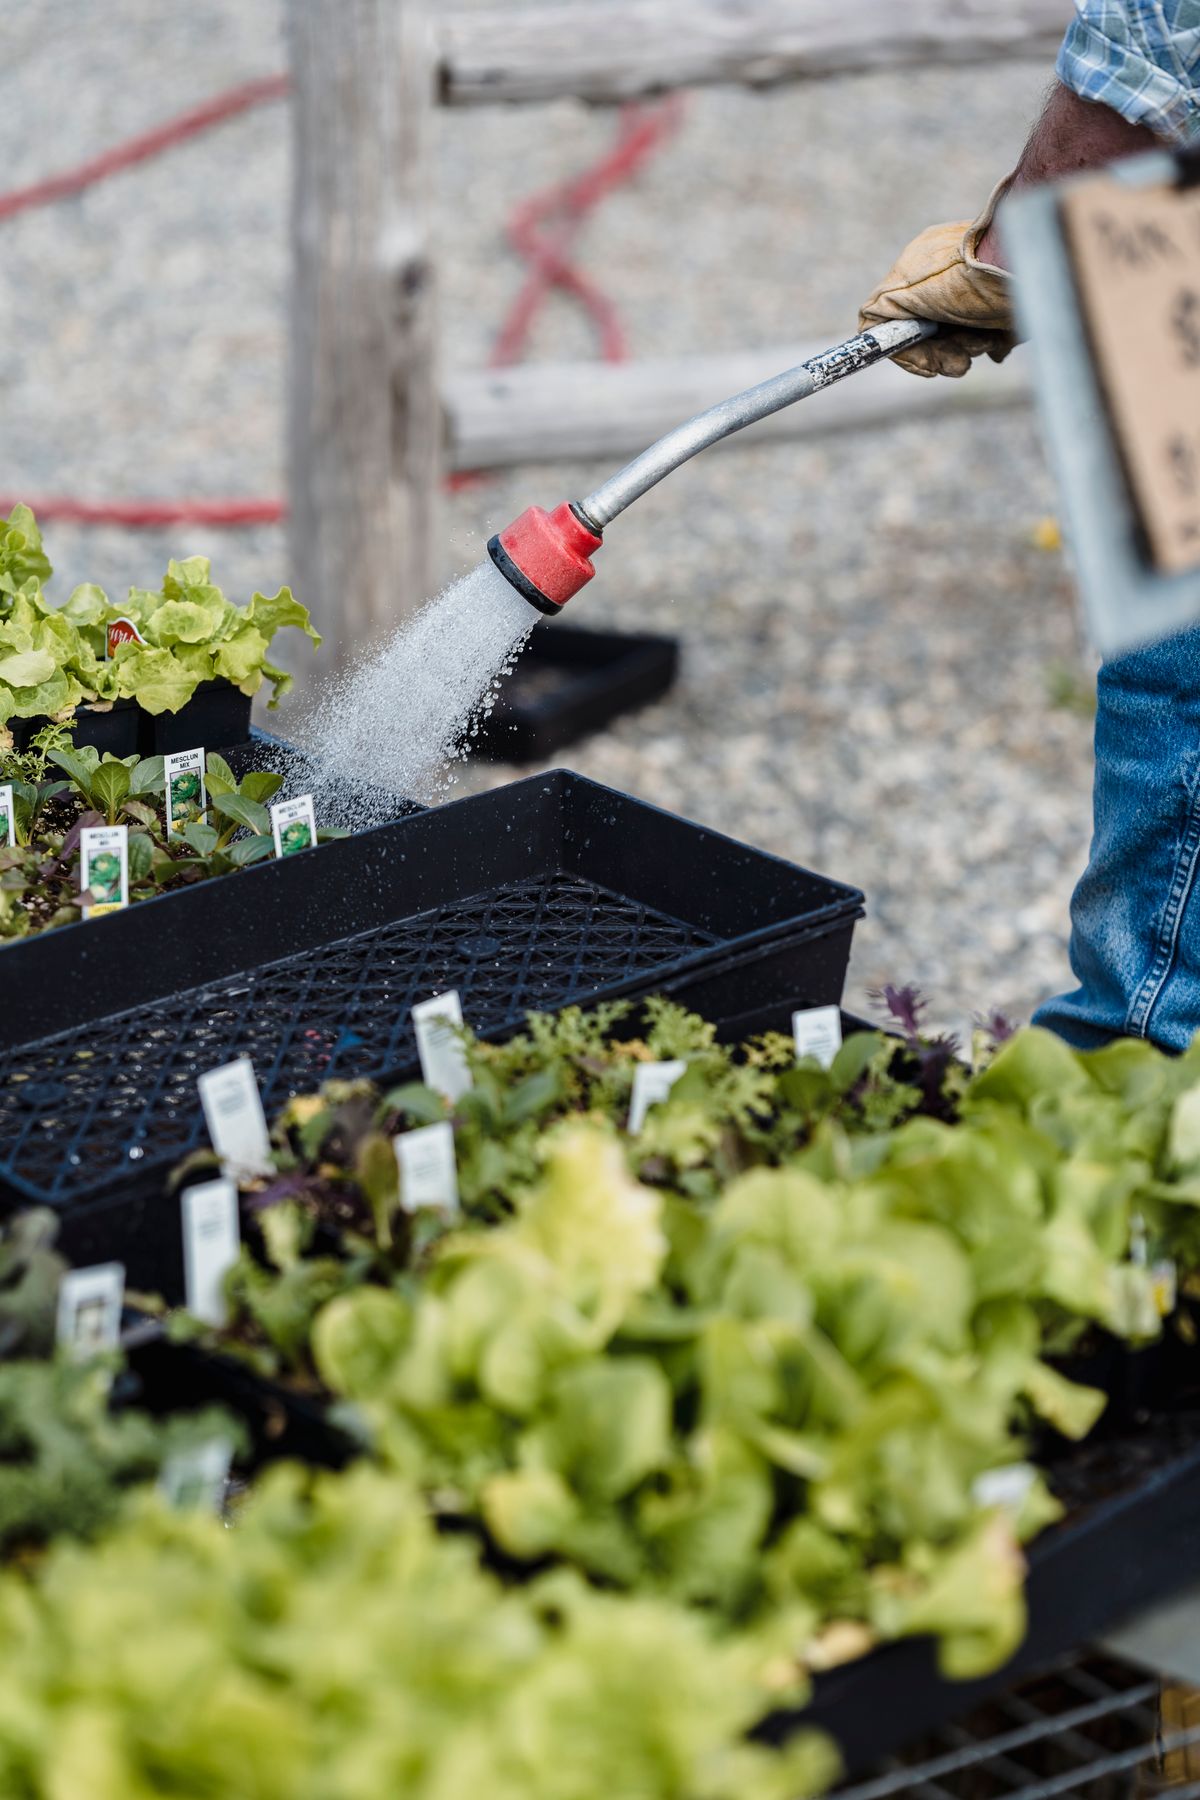
Place the container in suitable light, protected from conditions that overheat or dry it rapidly. Where a cover is recommended, monitor humidity, temperature, and ventilation rather than treating a sealed bag as a permanent solution. Keep the medium appropriately moist and draining. Remove deteriorating material according to guidance so it does not remain among healthy cuttings. Avoid repeatedly tugging at cuttings to test roots. Observe changes and record dates. If the setup fails, inspect light, temperature, medium, and water management before assuming the only missing ingredient was a stronger rooting product.
Pot on and acclimate gradually
Once sufficient roots have developed, follow species guidance for moving into individual containers. Handle young roots gently and maintain appropriate conditions while the new plants adjust. Introduce outdoor exposure gradually where necessary, accounting for wind, sun, and temperature. Keep the original labels and record the number of successful plants from the batch. Share established plants with identification and care details. A controlled propagation attempt produces useful knowledge even when not every cutting survives. That knowledge makes the next batch more efficient and prevents an enjoyable gardening experiment from becoming an unexplained collection of failures spread across the windowsill.
Sources & further reading
Source links support the factual context. Practical examples and suggested workflows are original editorial guidance. Sources checked October 5, 2026.
Spotted something we should correct? Send a correction. Read our editorial policy.